Your shopping cart is empty!

MENU
Your shopping cart is empty!
Hello everyone! This project is meant to demonstrate how easy it is to interface a Matrix Orbital GTT Intelligent TFT HMI display with an Arduino Uno through I2C. A DS18S20 temperature sensor is used to obtain temperature information, which is then processed by the Uno. Once the Arduino processes the temperature information, it updates the GTT's bar graph, and label.
We have released a Second Stage for this project, implementing user controlled temperature limits and alerts.
Hardware
Software
Step 1: Designing the User Interface
The GTT Designer Suite allows users to easily drag and drop widgets on screen. Images and font files can also be imported for use when creating GUI's. For this project, we've dragged in a Bar graph, 3 Image Toggles, a label, and a Thermometer image. The Bar graph is used to visually represent the current temperature. The label displays the current temperature value numerically. Two of the image toggles are used to indicate whether or not the Arduino and DS18S20 temperature sensor are connected and operating properly. Finally, the third image toggle allows users to turn the display's backlight on and off.
You can download our free and fast GUI design software here.
The project files can be downloaded here.
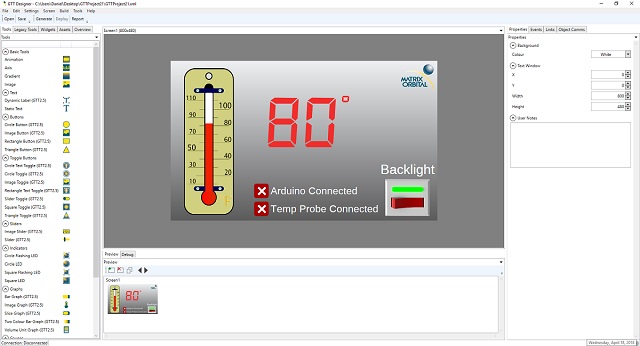
Matrix Orbital GTT Thermometer GUI
Once the design is completed, the project can be deployed to the GTT. You'll need to connect your PC to the GTT's Mass Storage header, and hit "Deploy" in the GTT Designer. All the necessary files will be generated and deployed directly to the display.
Step 2: Connecting the GTT
For this demo, we'll be using I2C to communicate between the Arduino Uno and the GTT. Using the Bread Board Cable, connect the 4 pin header to the GTT's I2C header. Then connect the Red Bread Board Cable lead to 5V power, and connect the Black lead to ground. The Yellow (SDA) and Green (SCL) leads need to be connected to the Arduino Uno's SDA pin (A4) and SCL pin (A5) respectively. No I2C pull-up resistors are required for communication with the GTT. Additional power can be applied through the displays barrel jack.
Step 3: Connecting the DS18S20
A 4.7k Ohm pull-up resistor must be placed in parallel with the D18S20's power and data pins, otherwise the sensor will be unable to communicate properly. The data pin can be connected to any digital pin on the Arduino; in this case we selected pin 2.
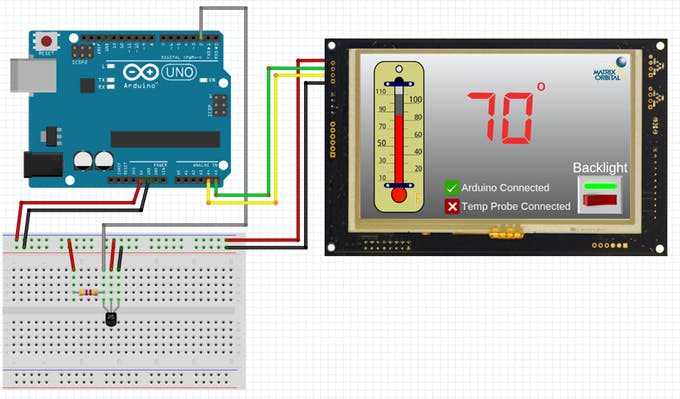
Matrix Orbital GTT Thermometer Schematic
Step 4: Installing Libraries
Before continuing, download and unzip the the following GTT Client Libraries. These libraries can also be found within the most recent GTT Firmware release. Once downloaded, copy over the contents of GttClient into \Users\YourUserName\Documents\Arduino\libraries\gtt.
Step 5: Code
Download the GTT_Arduino_Thermometer_Demo.ino file. Navigate to the GTTProject21>Output folder, and grab the.c and.h files generated by the GTT Designer Suite. Place both files in the GTT_Arduino_Thermometer_Demo.ino source directory, then open the.ino file.
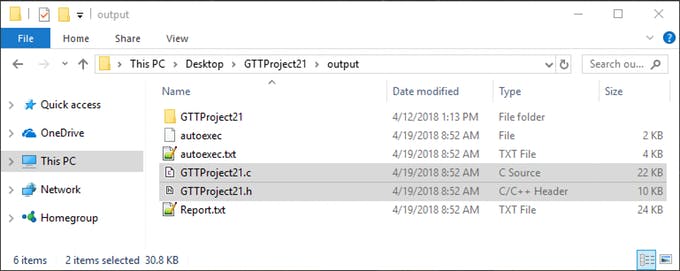
Generated .c and .h file from the GTT Designer
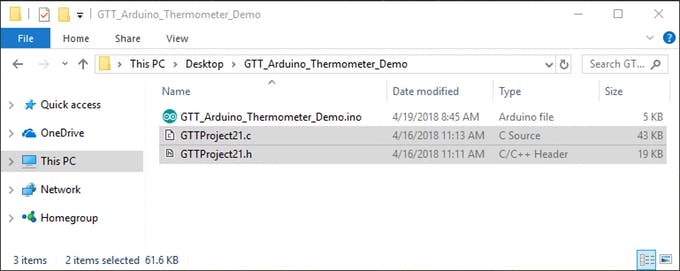
.c and .h file in the Demo Source Directory
If everything is setup properly, the.c and.h file will open along with the GTT_Arduino_Thermometer_Demo.ino code.
From there, you can upload the program to the Uno. The GTT will reset immediately after the program is uploaded. After a few seconds, the Thermometer demo screen will be displayed on the GTT. The image toggles will be set, indicating the connection status of the Arduino and the DS18S20 probe. If the probe becomes disconnected at any point, the indicators will provide visual notification that no temperature probe can be found.


